
How do I configure outgoing email filtering with SpamExperts?
Setting up SpamExperts to protect your organization's emails is not automatic. It requires several steps, which we detail below.
It's important that you follow the steps correctly to make sure your emails are properly filtered by SpamExperts and delivered optimally to your recipients.
If you use web hosting with Hodi, you don't need to do anything on your site, since we include outgoing filtering for free on all web hosting plans to protect you.
1. Log in to SpamExperts
- Log in to your Client Area
- In the "My account" menu, choose "My services"
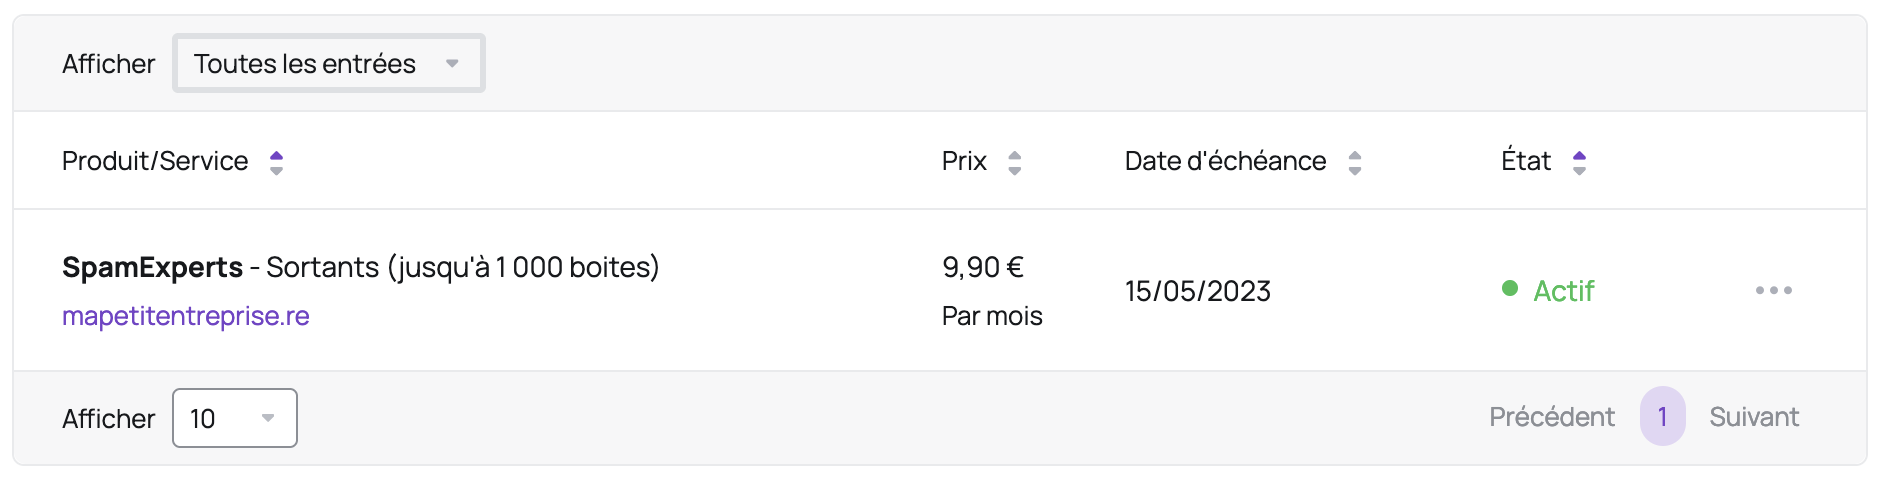
- Click the "SpamExperts" row for the domain you want to access:
- Click "Login to SpamExperts":
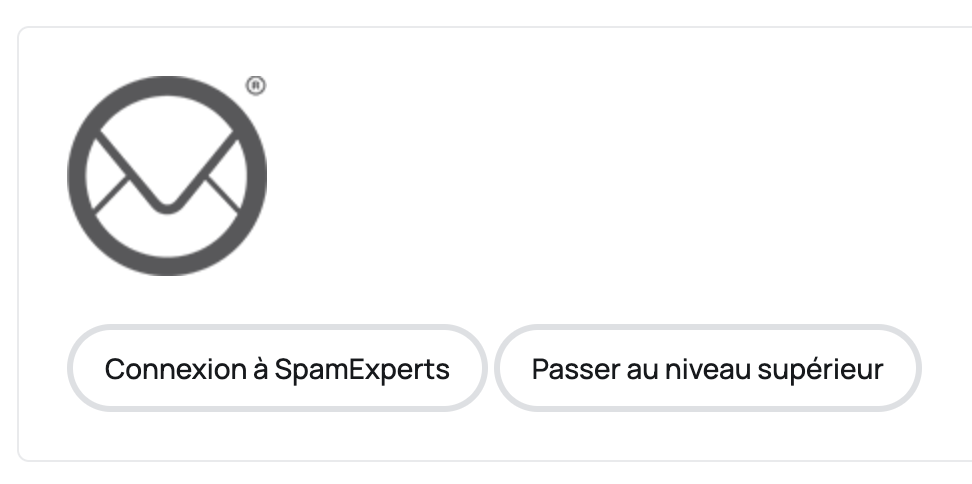
- If SpamExperts doesn't open, check that your browser isn't blocking pop-up windows.
- If SpamExperts is in English, click the "English (US)" button in the top right and choose "French":
2. Configure outgoing email authentication
- In the left-hand menu, choose "Manage Users" in the "Outgoing" section
- Create a username and password that you'll use on your SMTP server in the "Add User" section:
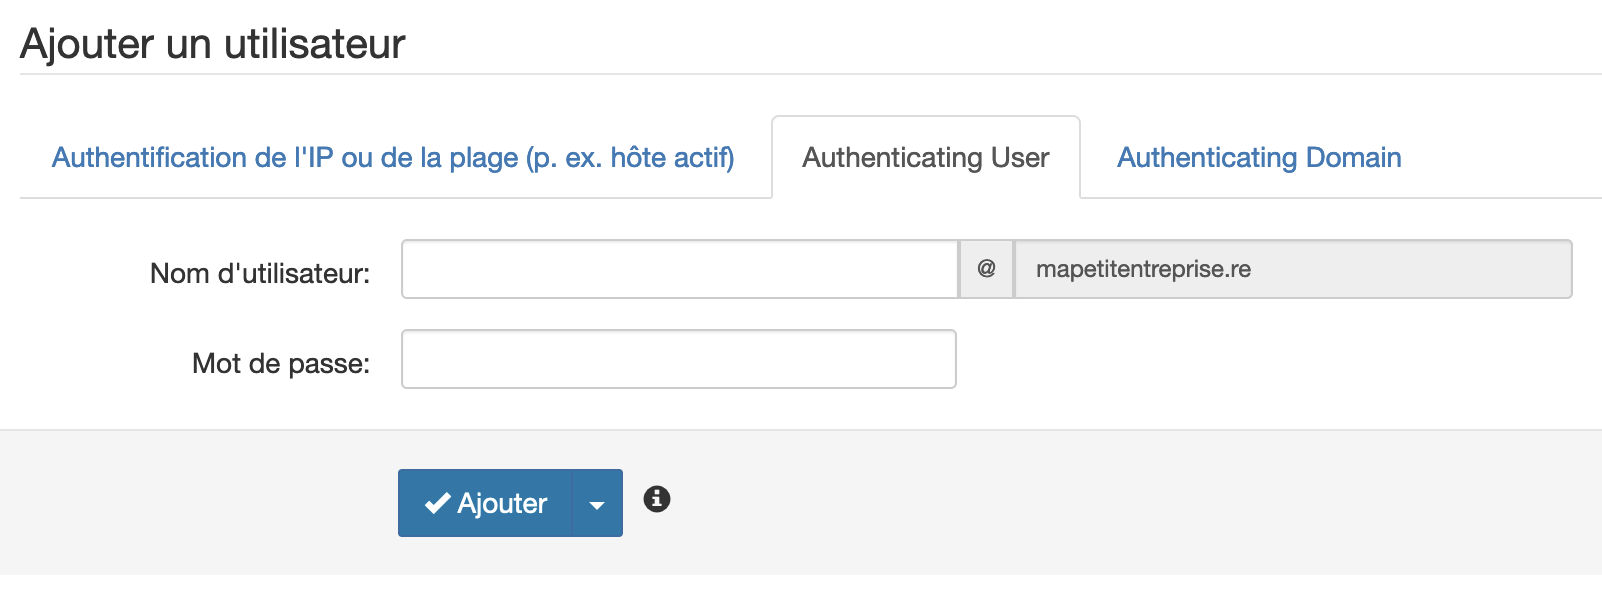
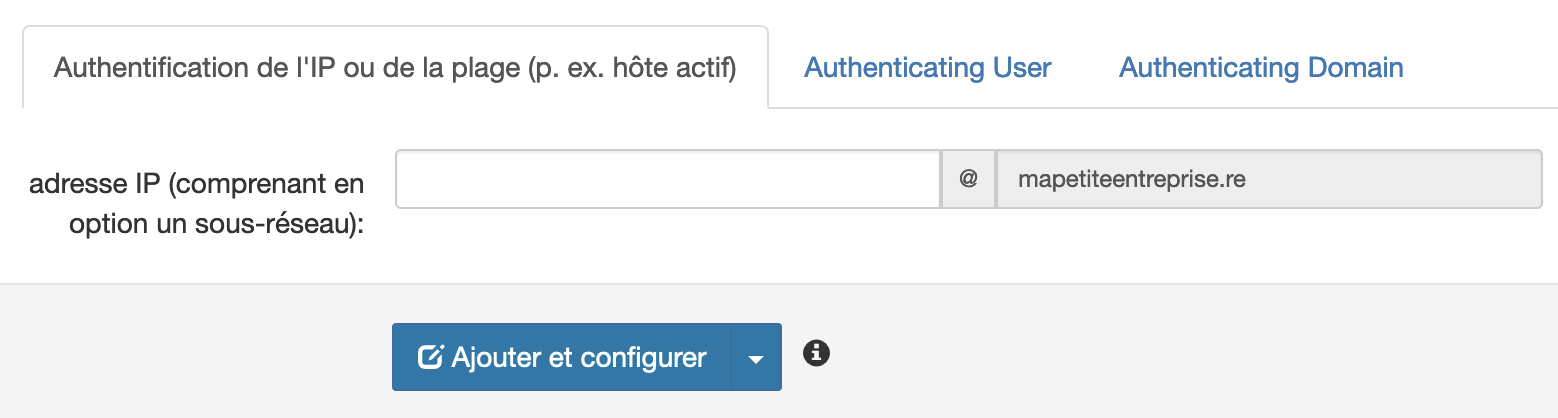
- You can also use IP address authentication if you have a fixed IP by clicking "IP or Range Authentication (e.g. active host)":
3. Configure the block notification email
To be alerted of any blocks so you can act at the source (e.g. clean up a computer infected by a virus), you can enter the alert email address in the "Settings" menu of the "Outgoing" section.
4. Optimize your email deliverability (SPF and DKIM)
- If you don't know what SPF and DKIM are, you can learn more about SPF and DKIM.
- Add
include:spf.antispamcloud.comto the SPF record in your DNS zone (this is the TXT record that starts withv=spf1) - If your current record is
v=spf1 a mx include:spf.hodi.host -all, it will becomev=spf1 a mx include:spf.hodi.host include:spf.antispamcloud.com -all(for extra safety, please check the new syntax with the SPF Syntax Validator before saving) - If you don't have such a TXT record, you can create a new one containing
v=spf1 include:spf.antispamcloud.com -all(the record name is your domain name or@in some cases)
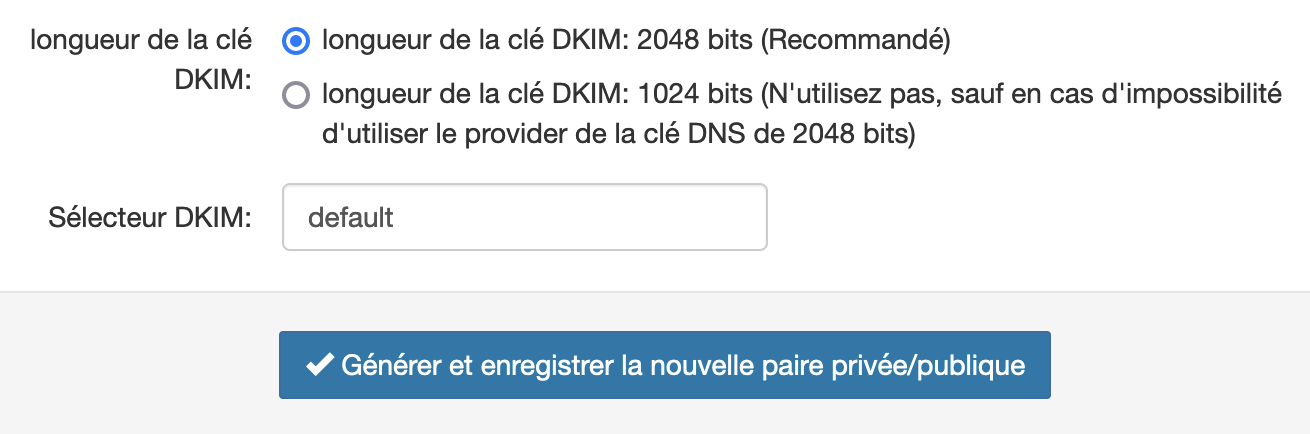
- If your server doesn't sign emails with DKIM, SpamExperts can do it for you. To do this:
- Go to the "DKIM" menu in the "Outgoing" section
- Enter a selector, for example
default:
- Create the DNS TXT record in your DNS zone with the content shown, the record name being the DKIM selector you chose followed by
._domainkey.followed by your domain name, for exampledefault._domainkey.mapetiteentreprise.re: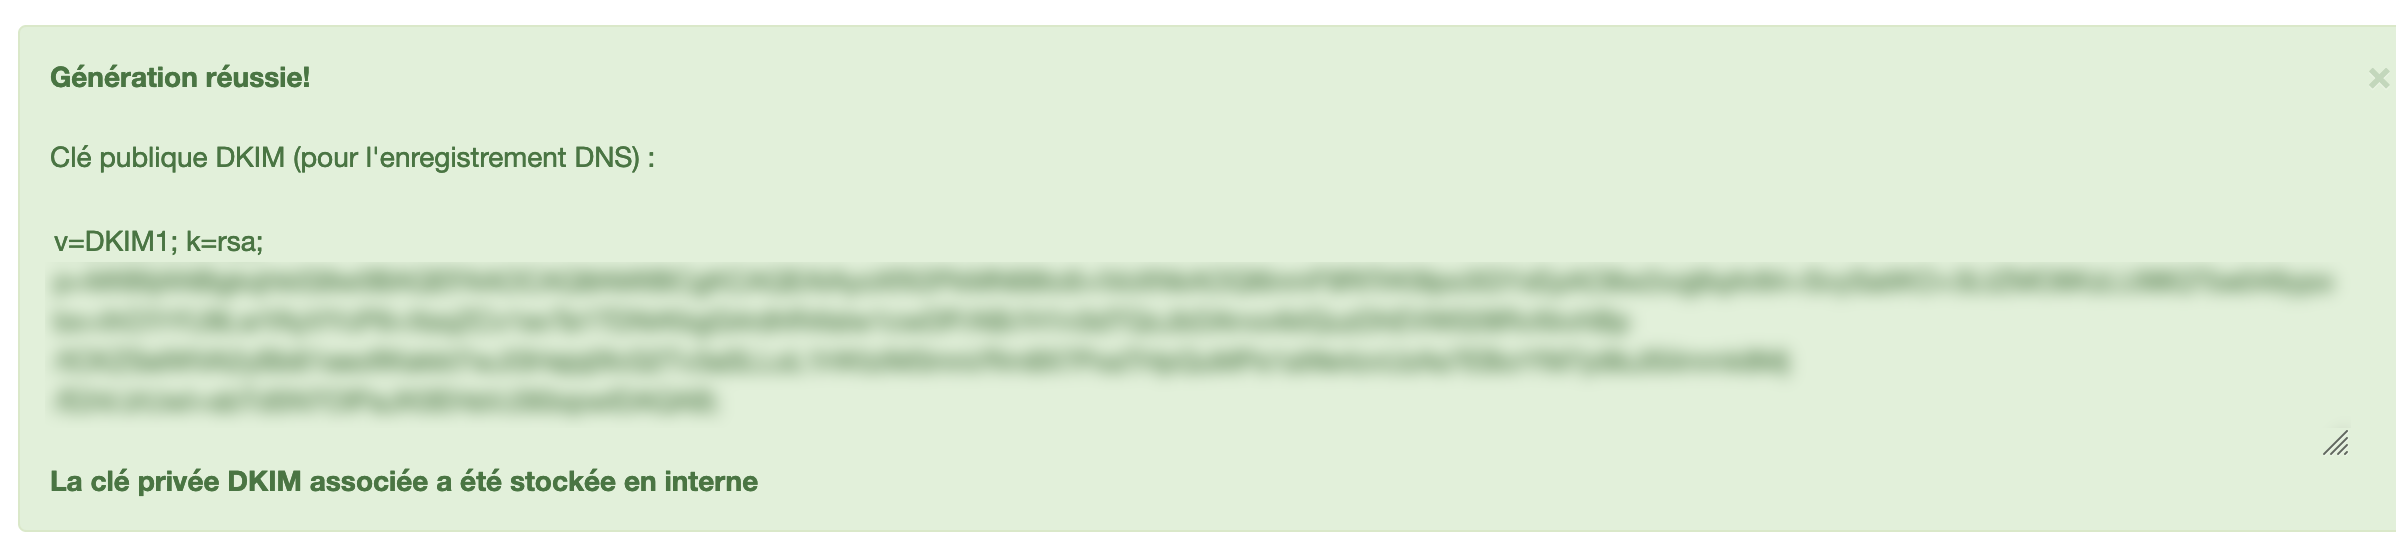 - If you use a selector other than
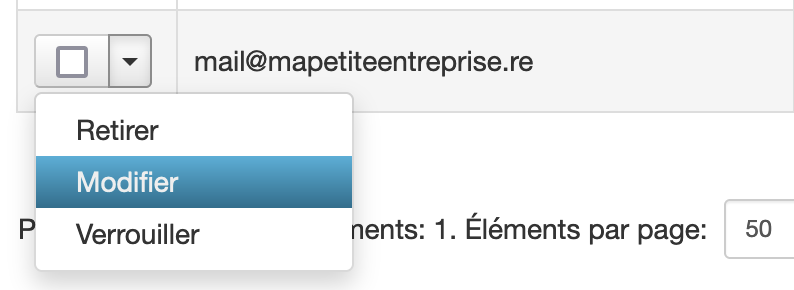
default, you must specify it in the user configured in step 2, by clicking the arrow next to the checkbox then "Edit" (the field to change is "DKIM Selector"):
Here are some guides from various hosting providers to help you edit your DNS zone:
- Hodi
- Canal+ Business: ask technical support
- Gandi
- IDOM: ask technical support
- Ionos
- Orange Business Services
- OVH
- SFR Business: ask technical support
If you have any questions about the exact procedure for editing the DNS zone with your host, we invite you to contact their technical support.
5. Configure your server to use SpamExperts
Once the steps above are complete, you're ready to use SpamExperts.
You can use one of the following domain names as an SMTP relay on port 587 (with or without TLS), 465 (SSL) or 25 (without SSL/TLS, not recommended).
- European Union:
eu.smtp.antispamcloud.com - South Africa:
za.smtp.antispamcloud.com
If you configured a username and password in step 2, you'll need to use them in the SMTP relay configuration.
The SMTP relay in South Africa performs better if you're with a provider connected to South Africa, such as Zeop or SFR, but you may prefer to use a server in the European Union.
6. Secure your network
Finally, we recommend securing your network by blocking outgoing connections on port 25 (excluding your server if you use port 25 to reach the SpamExperts SMTP relay).
This will prevent compromised machines from sending emails directly to another SMTP server without going through SpamExperts.
Warning: since the IP addresses used by SpamExperts may change, you should not create a firewall rule that only allows traffic to these IP addresses; you should instead create a firewall rule that blocks traffic that does not come from an IP authorized on your network.
7. Monitor sending
You can monitor emails passing through SpamExperts by going to the "Logs" menu in the "Outgoing" section.
You must apply filters in this section using the "Query Rules" section and click the "Show Results" button. The default filter displays messages from the last week.
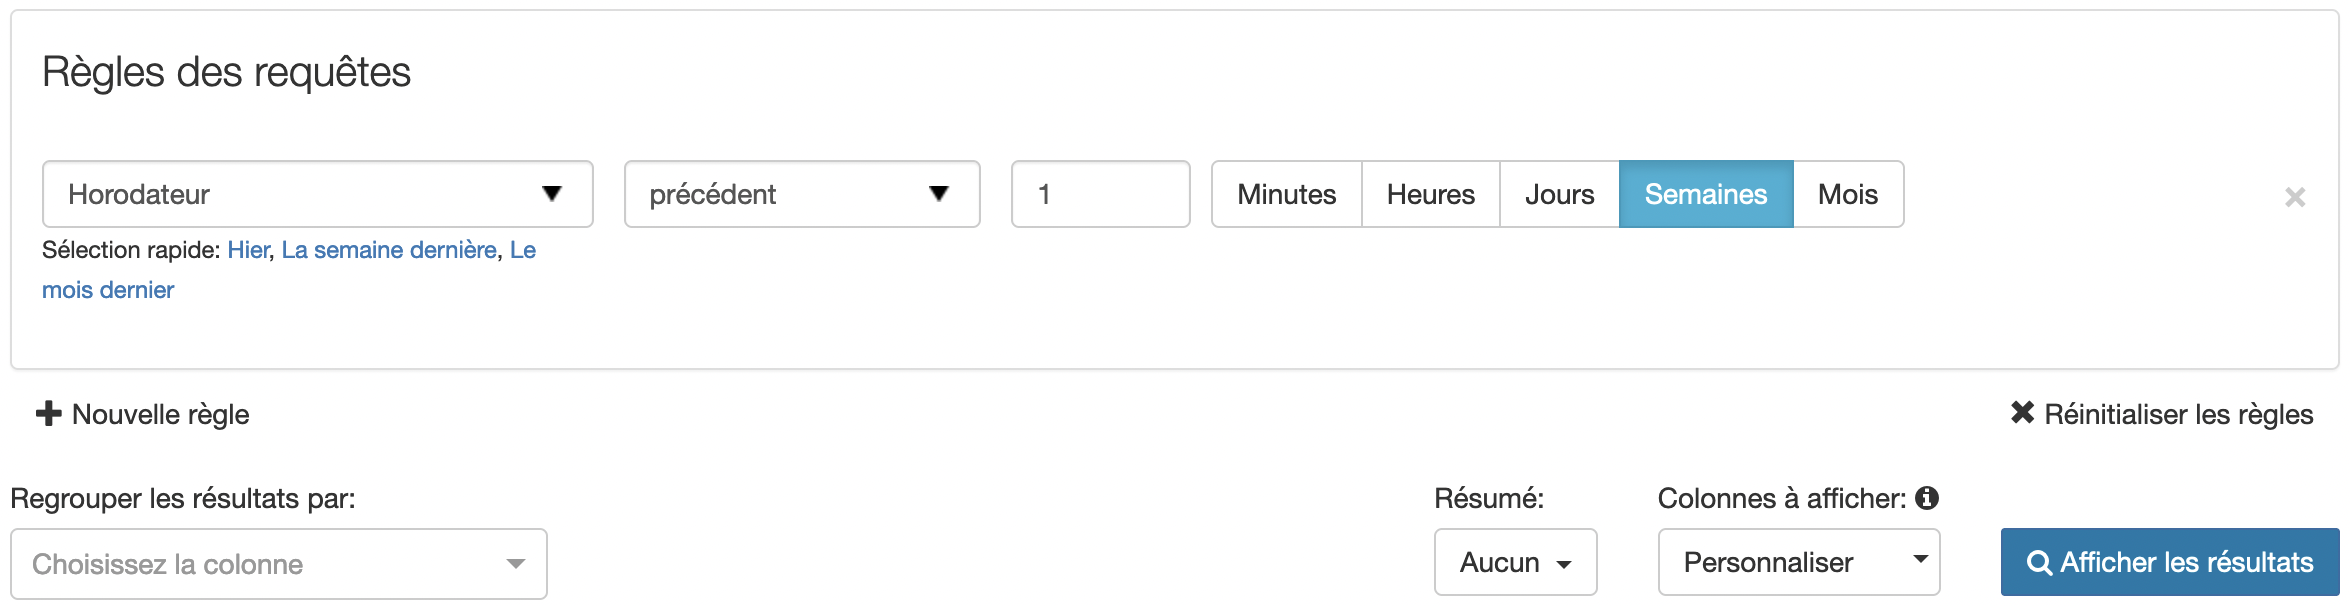
Once the filter has been applied, the "Status" column shows the message's status. Here are the most common statuses:
delivered: the message was sent to the recipientqueuedorbounced: the message could not be sent to the recipient (you can click the arrow next to the checkbox then choose "Delivery Problem Log" to find out more)queued: SpamExperts will regularly retry sending the messagebounced: the number of sending attempts was exceeded and SpamExperts sent an error message to the sender to inform them the message could not be sent
not-accepted: the message was not accepted, for example because the SMTP connection did not end correctly (the sender received an error message)rejected,quarantinedorquarantined-expired: the message is considered dangerous (spam or a virus, for example) and was blocked by SpamExperts; it was therefore not sent to the recipient, you can find out more by displaying the "Subcategory" and "Additional Category" columns
Note: SpamExperts' time is the Paris time zone.
Unlike incoming filtering, a message determined to be dangerous by SpamExperts cannot be sent to the recipient (there is no tool for this).
You will need to take into account the information shown in "Subcategory" and "Additional Category" to improve the quality of your message. For your information, even if SpamExperts were to let the email through, there is a good chance it would be blocked by the recipient's server, which could lead to your emails, even legitimate ones, being blocked by recipients.
The most common causes are:
*the email sender is not a valid address (for example, the mailbox or domain doesn't exist);**the message does not comply with the standard for sending email (RFC 5322);*the message contains links to sites often used for dangerous activities (e.g. phishing).
Updated on: 17/07/2026
Thank you!