How to migrate a WordPress from another server?
Migrating a WordPress site may seem intimidating, especially if you have never performed such a task before. Fortunately, the WP All In One Migration plugin greatly simplifies this process. Here is a step-by-step guide to help you migrate your WordPress site safely.
Did you know?
Migration is free of charge at Hodi when you place an order, so you have nothing to worry about: we take care of everything!
Learn more
Step 1: Install WP All In One Migration
- Log in to your site's admin dashboard.
- Go to the "Plugins" section: Click on "Add New" then search for "WP All In One Migration":
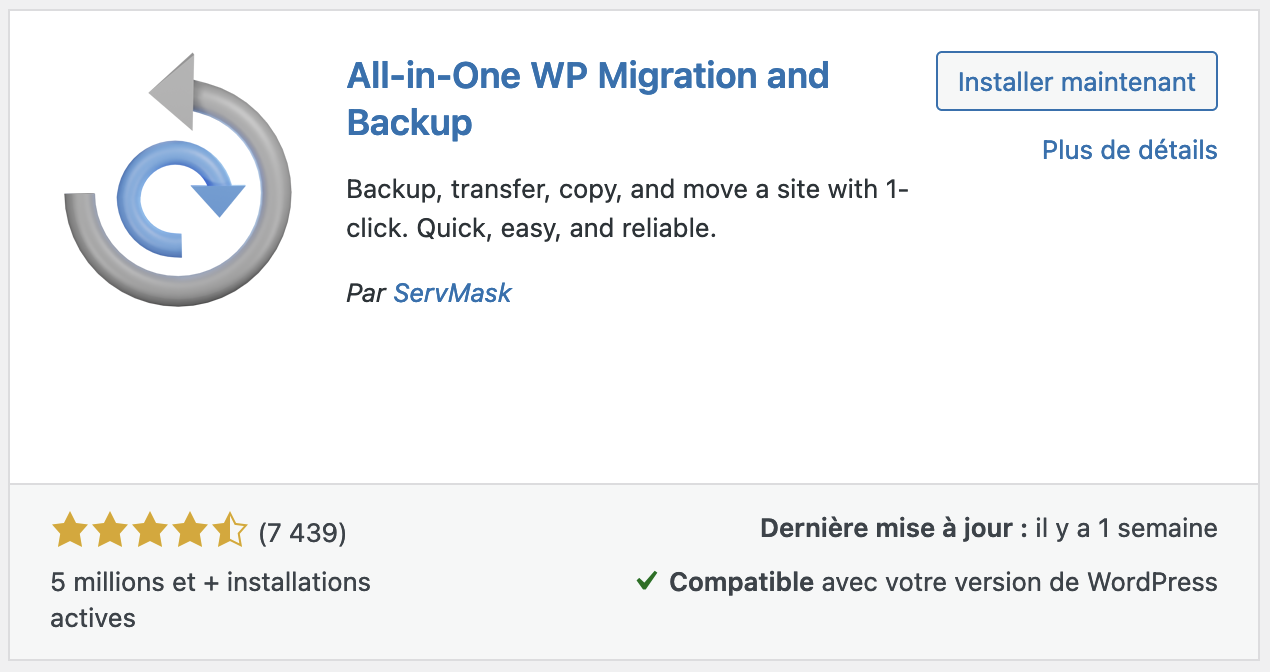
- Install and activate the plugin: Once you have found the plugin, click "Install Now" then "Activate".
Step 2: Export your site
- In the WordPress side menu, go to "WP All In One Migration" then click on "Export".
- Click on "Export To" then "File".
- Once the export is complete, download the generated file to your computer.
Step 3: Install WordPress on your server
- Log in to your cPanel
- On the left, click on "WP Toolkit".
- Then click the "Install WordPress" button:
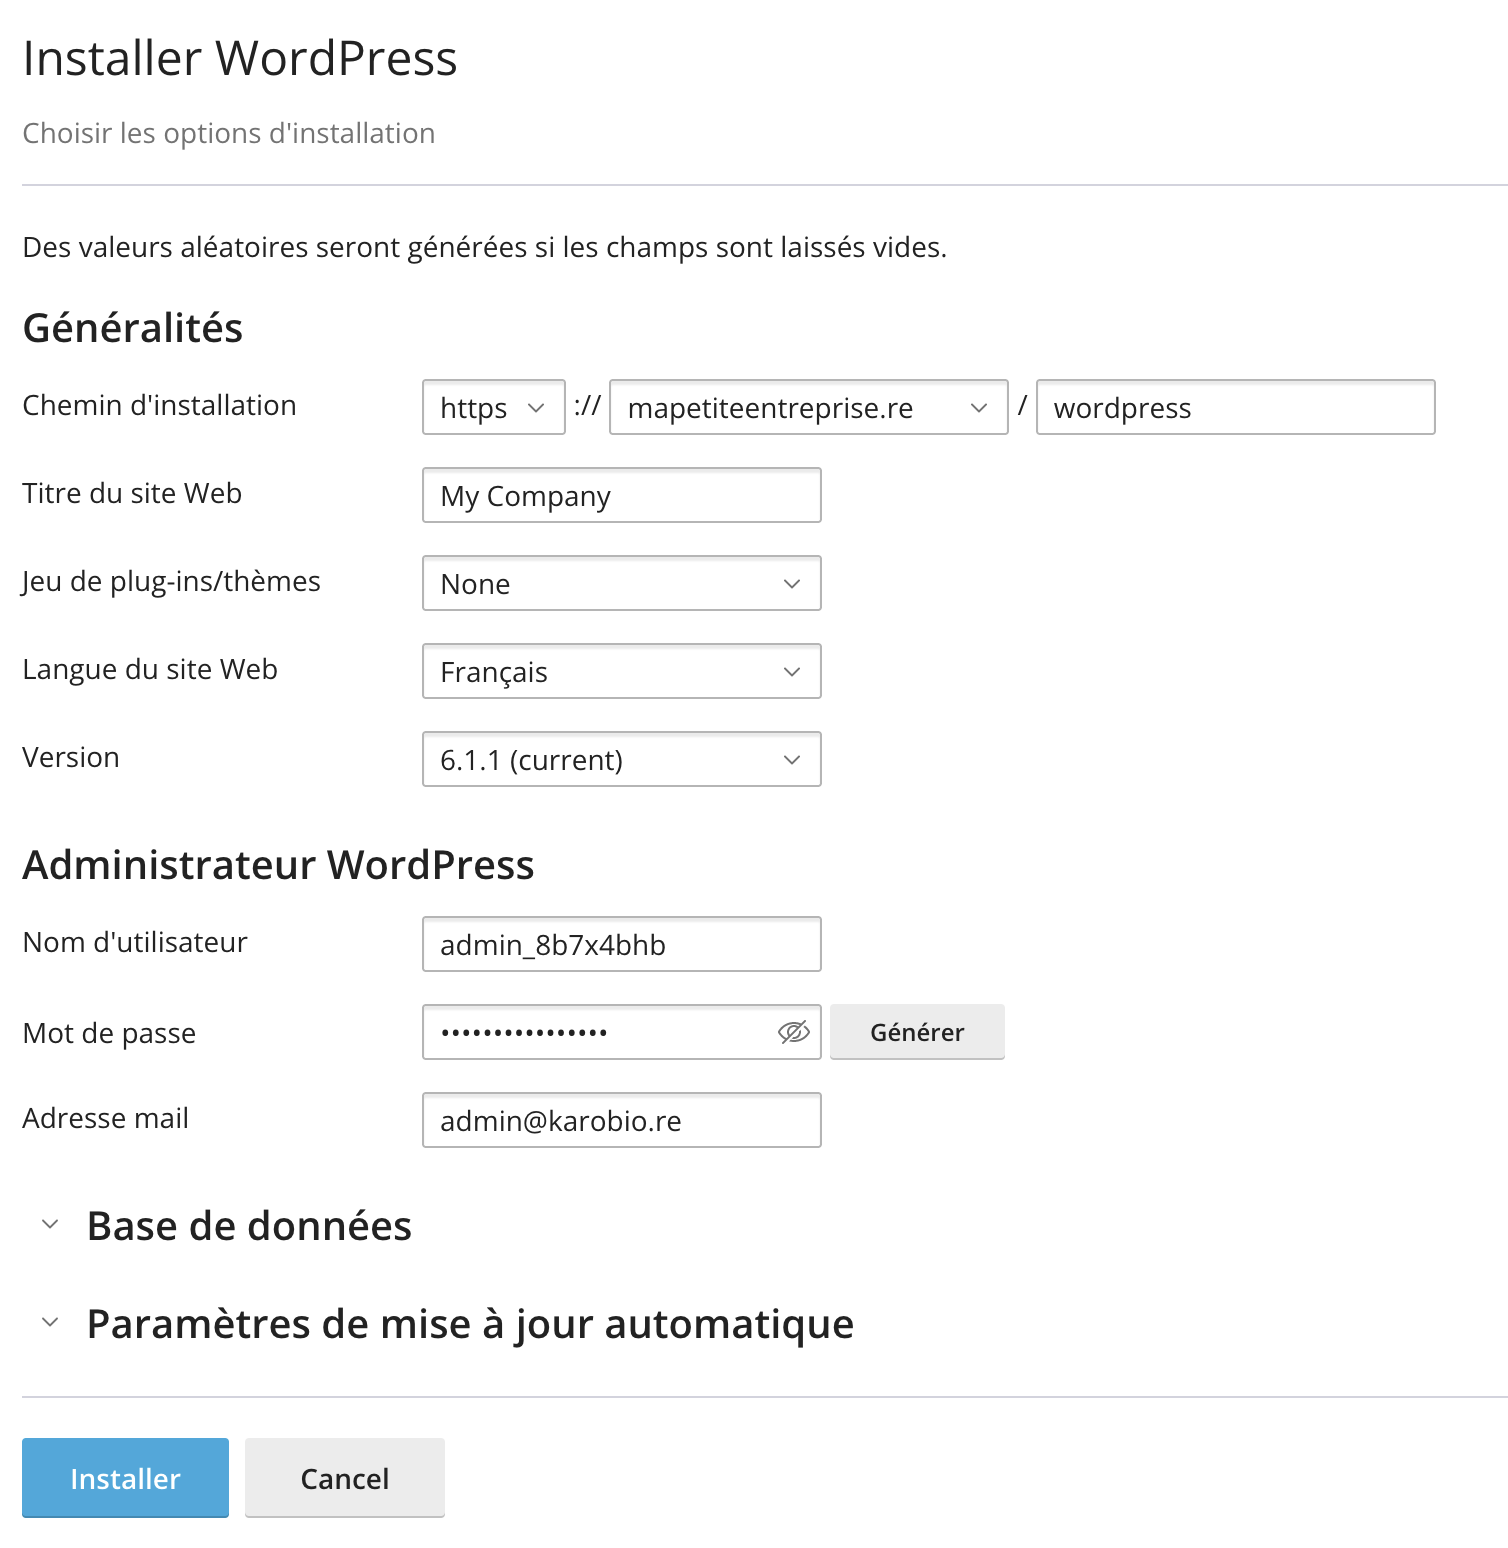
- Leave the installation path empty, or enter "wordpress" if you want to install WordPress in a subfolder called "wordpress" for example.
- Make sure to note down the generated password or change it.
- Click the "Install" button at the bottom of the page.
Step 4: Import your site
- Log in to the admin dashboard of your new site.
- Install WP All In One Migration on your new site.
- In the WordPress side menu, go to "WP All In One Migration" then click on "Import".
- Click on "Import From" then "File".
- Select the exported file you previously downloaded and start the import.
- If WP All In One Migration reports a different PHP version, you can change the PHP version of your hosting .
- The process may take some time, especially if your site is large. Be patient and wait for the import to finish. Even though there is a "Stop Import" button, we do not recommend stopping it midway to avoid ending up with an unstable site.
- Once the import is complete, WP All In One Migration will update the database and necessary files. You may be prompted to save your permalinks.
Step 5: Verify and adjust
- Make sure all pages work correctly and that internal links, images, and other content have been properly migrated.
- If necessary, go to "Settings" > "Permalinks" and click "Save Changes" to update your site's permalinks.
- Browse your site to test all features, including forms, share buttons, and other interactive elements.
Conclusion
Migrating a WordPress site with WP All In One Migration is a relatively simple process, even for beginners. This plugin allows you to easily move your site from one server to another in just a few clicks. By following these steps, you can ensure that your migration goes smoothly and without data loss.
Updated on: 21/02/2026
Thank you!